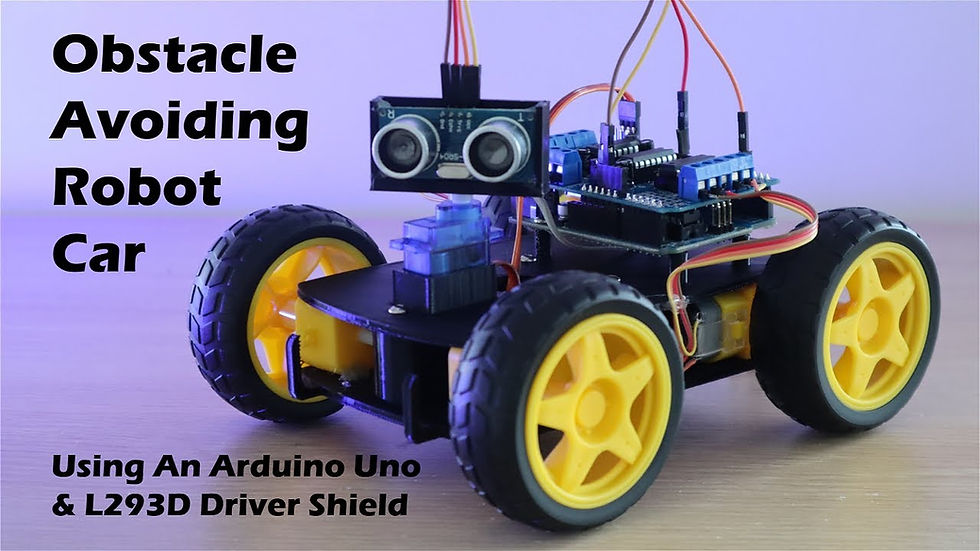
Easy and Simple Arduino Obstacle avoiding robot!
- Laksh Adiga
- Jan 8, 2023
- 2 min read
To make an obstacle avoiding robot using Arduino, you will need the following materials:
Arduino board (such as the Arduino Uno or Nano)
Ultrasonic sensor
DC motors
Motor driver (such as a L293D or TB6612FNG)
Chassis and wheels
Battery pack
Jumper wires
Breadboard (optional)
Here is a step-by-step guide to making your own obstacle avoiding robot using Arduino:
Set up your Arduino board and connect it to your computer using a USB cable.
Assemble the chassis and wheels of your robot. You can use a pre-made chassis or build your own using materials such as cardboard or plastic.
Connect the DC motors to the chassis using screws or adhesive.
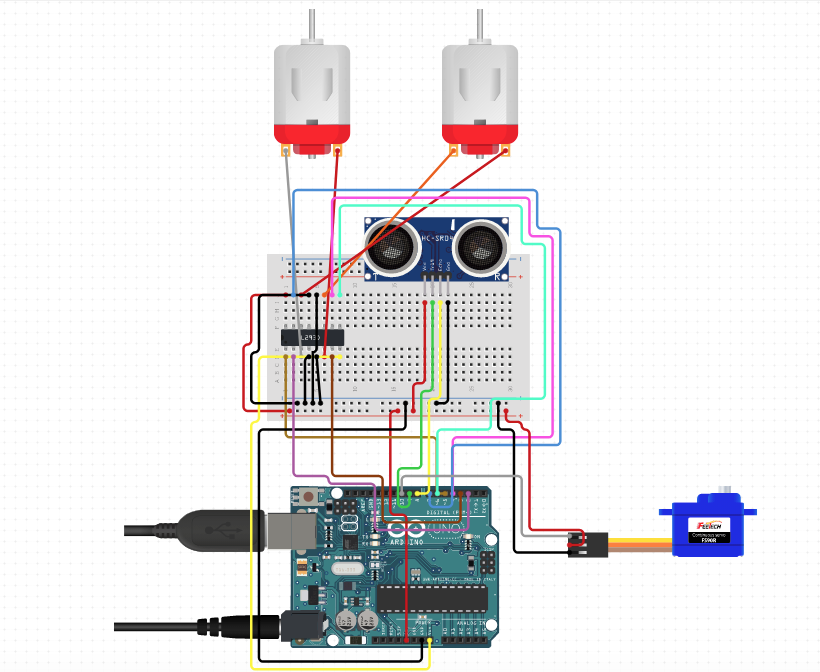
Connect the motor driver to the Arduino board and the DC motors. The motor driver is responsible for controlling the speed and direction of the motors.
Connect the ultrasonic sensor to the Arduino board and the motor driver. The ultrasonic sensor will be used to detect obstacles in front of the robot.
Connect the battery pack to the motor driver. This will provide power to the robot.
Use jumper wires to connect the components as necessary. If you are using a breadboard, it can be helpful to use it to organize the connections and make it easier to troubleshoot any issues.
Write the code for your robot using the Arduino programming language. This code will control the behavior of the robot and tell it how to respond to obstacles.
Upload the code to the Arduino board using the Arduino software.
Test your robot to make sure it is functioning properly. You may need to make adjustments to the code or the connections if the robot is not behaving as expected.
Once your robot is working properly, you can customize it further by adding additional sensors or features such as LED lights or a buzzer. With a little bit of programming and creativity, you can make your own unique obstacle avoiding robot using Arduino!
CODE
#include <Servo.h>
#include <Ultrasonic.h>

const int trigPin = 9; // trigger pin for the ultrasonic sensor
const int echoPin = 8; // echo pin for the ultrasonic sensor
const int servoPin = 10; // pin for the servo motor

Ultrasonic ultrasonic(trigPin, echoPin); // create ultrasonic object
Servo servo; // create servo object

void setup() {
  servo.attach(servoPin); // attach the servo to the servo pin
  servo.write(90); // set the servo to the center position
}

void loop() {
  int distance = ultrasonic.Ranging(CM); // measure the distance to an obstacle in cm

  if (distance < 20) { // if the distance is less than 20 cm
    servo.write(0); // rotate the servo to the left
    delay(1000); // wait for 1 second
  } else if (distance > 20) { // if the distance is more than 20 cm
    servo.write(180); // rotate the servo to the right
    delay(1000); // wait for 1 second
  }
}
CIRCUIT DIAGRAM


Comments